Power BI Tutorials
Written By: Sajagan Thirugnanam and Austin Levine
Last Updated on November 1, 2024
Power BI is a powerful business analytics tool from Microsoft that enables users to visualize data and share insights across their organization. While Power BI is primarily designed for Windows, Mac users can still access its capabilities through various methods.
Understanding Power BI
What is Power BI?
Power BI is a suite of business analytics tools that allows users to analyze data and share insights in real-time. It provides interactive visualizations and business intelligence capabilities with an interface simple enough for end-users to create their own reports and dashboards.
Why Use Power BI?
Data Visualization: Transform complex datasets into insightful visuals.
Collaboration: Share reports and dashboards with team members easily.
Integration: Connect to various data sources, including Excel, SQL Server, and cloud services.
Real-Time Analytics: Monitor your business metrics in real-time.
Accessing Power BI on Mac

Source: Holistics.io
While Microsoft does not offer a native Power BI Desktop application for macOS, there are several effective ways for Mac users to access Power BI features. Below are the most common methods:
1. Using Power BI in a Web Browser
The simplest way to use Power BI on a Mac is through the Power BI Service, which is accessible via any modern web browser.
Steps to Access Power BI Service:
Open Your Browser: Launch Safari, Chrome, or any other preferred browser.
Go to the Power BI Website: Navigate to Power BI.
Sign In: Click on "Sign In" at the top right corner and enter your Microsoft account credentials.
Explore the Interface: Once logged in, you can create reports, dashboards, and datasets directly within the browser.
Features Available:
Create and edit reports using the web interface.
Share dashboards with colleagues.
Access datasets stored in the cloud.
2. Using Virtualization Software
If you need full access to Power BI Desktop features, consider using virtualization software like Parallels Desktop or VMware Fusion. These applications allow you to run Windows on your Mac.
Steps to Set Up Virtualization:
Install Virtualization Software: Download and install Parallels Desktop or VMware Fusion.
Install Windows OS: Follow the instructions provided by the software to install a Windows operating system (Windows 10 or later).
Download Power BI Desktop:
Once Windows is running, open a web browser within the virtual environment.
Navigate to the Power BI Download Page and download Power BI Desktop.
Install Power BI Desktop: Follow the installation prompts.
Benefits of Virtualization:
Full access to all features of Power BI Desktop.
Ability to run other Windows applications alongside Power BI.
Enhanced performance with sufficient resource allocation (recommended: 16GB RAM or more).
3. Using Boot Camp
Boot Camp is another option that allows you to run Windows natively on your Mac hardware. This method requires partitioning your hard drive but provides optimal performance for running Windows applications.
Steps to Set Up Boot Camp:
Open Boot Camp Assistant: Locate it in your Applications > Utilities folder.
Create a Partition: Follow the prompts to create a partition for Windows.
Install Windows: Insert a Windows installation disk or use an ISO file and follow the instructions.
Download Power BI Desktop:
Once Windows is installed, boot into Windows.
Visit the Power BI Download Page and download Power BI Desktop.
Install Power BI Desktop: Follow the installation prompts.
Advantages of Boot Camp:
Native performance without virtualization overhead.
Full compatibility with all Windows applications.
4. Using Remote Desktop
If your organization has a Windows server or PC with Power BI installed, you can use Microsoft’s Remote Desktop application to connect remotely from your Mac.
Steps for Remote Access:
Download Microsoft Remote Desktop: Install it from the Mac App Store.
Connect to Your Remote PC:
Open Microsoft Remote Desktop and click on "Add PC."
Enter the IP address or hostname of your remote Windows machine where Power BI is installed.
Log In: Enter your credentials when prompted.
Benefits of Remote Desktop:
Access a fully configured environment with all necessary applications.
No need for additional installations on your Mac.
5. Cloud-Based Solutions
For organizations looking for scalable solutions, consider using cloud-based virtual machines (VMs) such as Azure Virtual Machines or AWS EC2 instances running Windows.
Steps for Cloud-Based Solutions:
Set Up a Cloud VM:
Choose a cloud provider (e.g., Azure or AWS) and set up a virtual machine running Windows.
Ensure that it meets the hardware requirements for running Power BI effectively (minimum 8GB RAM recommended).
Install Power BI Desktop:
Log into your cloud VM using Remote Desktop Protocol (RDP).
Download and install Power BI Desktop from the Power BI Download Page.
Access Your Reports Remotely:
Use RDP from your Mac to connect to your cloud VM whenever you need access to Power BI.
System Requirements for Optimal Performance

Source: Reddit.com
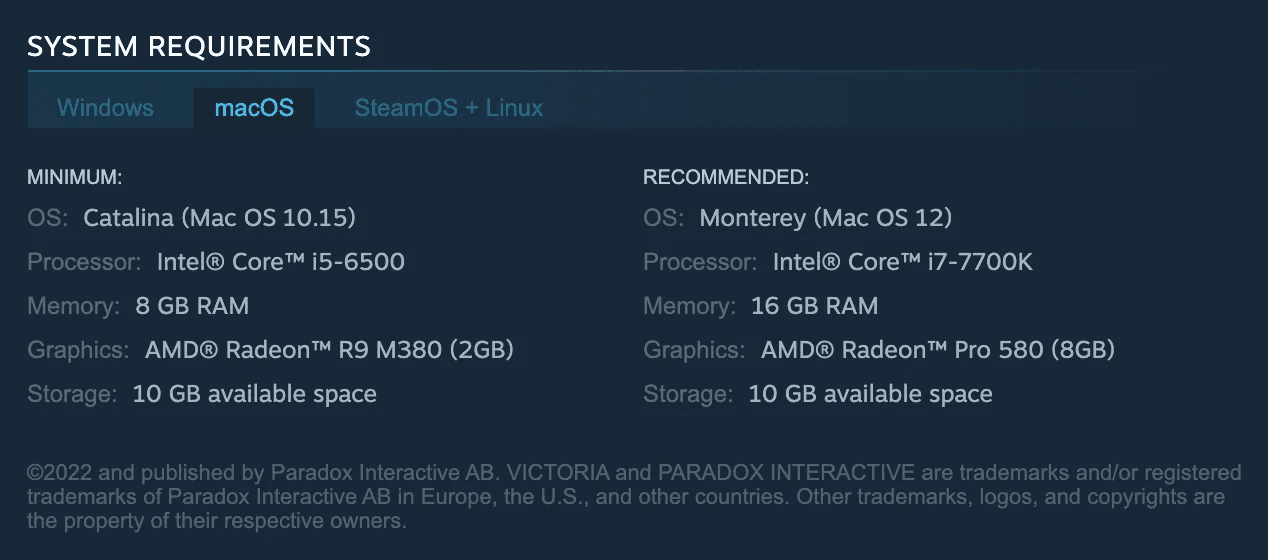
Regardless of which method you choose, ensure that your Mac meets certain system requirements:
macOS Version: Running macOS X 10.8.5 or later is generally required for virtualization software compatibility.
Hardware Specifications:
A powerful processor (Intel or Apple M1/M2).
A minimum of 16GB RAM; more memory is advisable when working with large datasets in Power BI.
Best Practices for Using Power BI on Mac
Stay Updated: Regularly check for updates in both macOS and any virtualization software you use for optimal performance and security.
Utilize Keyboard Shortcuts: Familiarize yourself with keyboard shortcuts specific to Power BI; they can significantly speed up your workflow.
Explore Online Resources: Take advantage of Microsoft’s extensive documentation, tutorials, and community forums for learning more about using Power BI effectively.
Optimize Data Sources: Ensure that your data sources are well-organized and optimized for reporting before importing them into Power BI.
Conclusion
While Microsoft does not offer a native version of Power BI Desktop for macOS, Mac users have multiple effective options for accessing its features—whether through the web-based service, virtualization software, Boot Camp, remote desktop connections, or cloud-based solutions like Azure VMs.
By understanding these methods and following best practices, you can leverage the full power of Power BI on your Mac device, enhancing your data analytics capabilities and driving better decision-making within your organization! Embrace these tools today to unlock new insights from your data!
Related to Power BI Tutorials